|

The
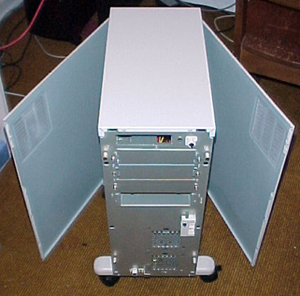
top panel can also be taken off but this time you will need
a screwdriver. Four screws need to be removed before you can
remove the top panel, two on the front and two on the back of
the case.
The
case in separated in three sections. The upper section contains
the only external 3½" drive bay in the front and an internal
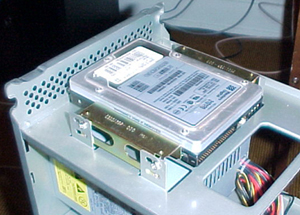
5¼" drive bay in the back. This internal 5¼" drive bay may look
odd at first sight. Could you name an internal 5¼" device? This
is not very common nowadays. But after thinking about it, I
think it's a good idea. This drive space is well ventilated
by holes underneath and behind it. This make's it the perfect
place to mount a hard drive (with an adapter) or a 5¼" cooling
unit such as the TT900
from Just Cooler.
Or you could use a 5¼" hard drive cooler such as the Ultimate
Hard Drive Cooler from Vantec without loosing an external
5¼" drive bay. Finally, for you hardcore case tweakers out there,
there is enough space around this drive bay to hack your own
custom hard drive
cooler.

In
the middle section, you will find the power supply and three
of the four external 5¼" drive bays. These three drive bays
features some drive rails. Those drive rails are quite handy.
You must install one rail on each side of each drive you want
to place in those bays. Once this is done, you can slide your
drives in and out of the case. Another advantage is that each
drive requires only two screws to lock in place, and they are
located in front of the case instead of each side. This means
that you only need to remove one of the side panels to add or
remove a drive and it's only to plug or unplug it. For those
who use multiple cases, the drive rails makes it very easy to
swap drives from one case to the next.
Next
>>
<<
Previous
|