|
Installation
The
kit comes with an installation sheet, but if you have some basic
case mod knowledge, you will most likely guess what goes where.
The installation process is very easy. The neon light is most
often used in a car; it comes with a 12v cigarette lighter type
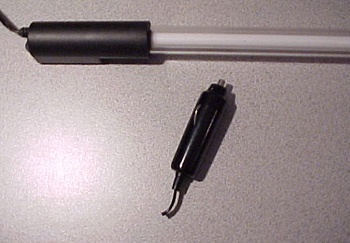
plug, the first thing to do is to cut it off.

Now
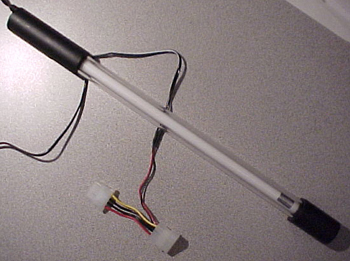
take the two bare wires from the neon and connect them to the
Y connector. On the Y connector the red lead is positive and
the black is negative. On the neon, the positive lead has a
white line all along its wire. Don't forget to place the heatshrink
on the wire before connecting the leads. Once you have twisted
the leads together, slide the heashrink over the connection
and heat it with a hair dryer.

I
decided not to use the switch for now. I will plug the neon
in a baybus eventually. If you decide to use the switch you
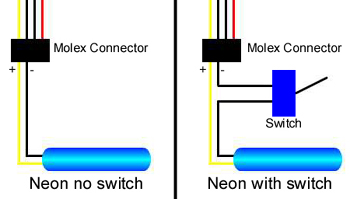
have to integrate it to the circuit. Here is a diagram of the
circuit with and without the switch:

Next
>>
<<
Previous
|