|
What
to do

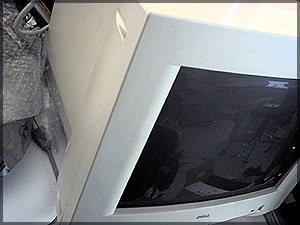
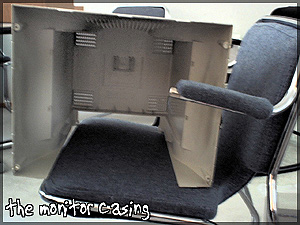
The first step is to remove the casing of the monitor. Most
monitors have two shells enclosing the insides. The first shell
rests on the front of the monitor, holding the tube in place,
as well as housing the adjustment buttons. This shell should
not be removed, and left in place to prevent any sliding of
the tube itself. The second casing encloses most of the actual
body of the monitor. It goes along the top, sides, back, and
most of the bottom. In most instances, three or four screws
fasten it on, in which after removal allow it to easily slide
off.


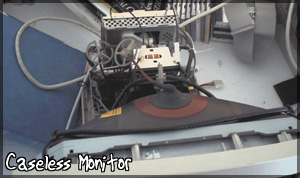
After
the monitor casing is removed, you can see the exposed components.
While each monitor is different, most monitors will have three
black knobs on the lower right side of the monitor. Often, the
manufactures glue the knobs in place to ensure they do not get
jagged out of adjustment during shipping. As thus, some chipping
of glue may be necessary. If the monitor is older (which chances
are it is), the glue is most likely brittle and can be shattered
off by a screwdriver.
Next
>>
<<
Previous
|